How to replace Whatsminer P221C PSU in M31 or M32 series miners?
February 15, 2025
How to Replace Whatsminer P221C PSU in M31 or M32 Series Miners?
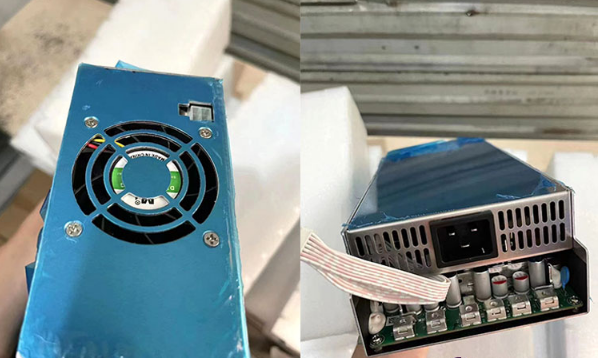
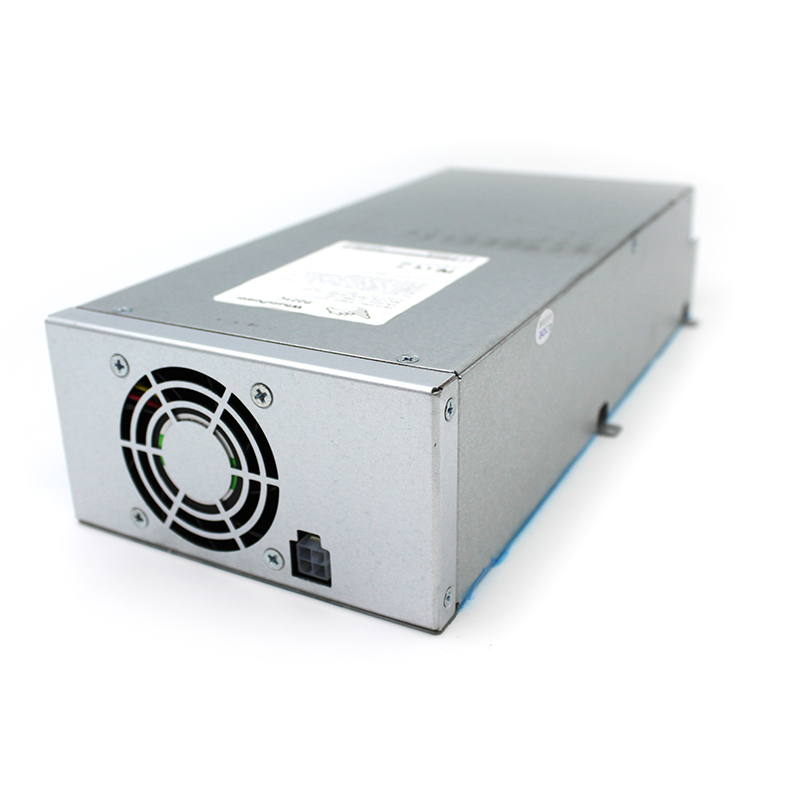
Cryptocurrency mining is a demanding operation that requires reliable and efficient hardware to ensure maximum profitability. Among the critical components of any mining rig is the power supply unit (PSU), which provides the necessary energy to keep your miners running 24/7. The Whatsminer P221C PSU is a high-performance power supply specifically designed for professional mining operations, offering unmatched efficiency and compatibility with various Whatsminer models, including the M31 and M32 series.
However, even the most robust PSUs may eventually require replacement due to wear and tear, power surges, or operational upgrades. In this article, we’ll walk you through the process of replacing the Whatsminer P221C PSU in your M31 or M32 series miners, highlighting the advantages of this power supply unit and providing practical tips to ensure a smooth transition.

Why Choose the Whatsminer P221C PSU?
Before diving into the replacement process, it’s essential to understand why the Whatsminer P221C PSU stands out as a top choice for mining operators. Here are its key advantages:
1. Universal Compatibility
The P221C PSU is engineered to work seamlessly with a wide range of Whatsminer devices, including the M20, M30, M31, M32, and M50 series. This versatility makes it an excellent investment for mining operations that utilize multiple miner models or plan to upgrade their hardware in the future.

2. Industrial-Grade Performance
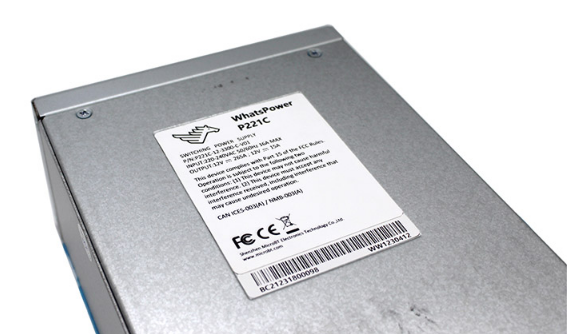
With a 95% power efficiency rating, the P221C minimizes energy waste and reduces operational costs. Its stable 12V DC output at 265 amperes ensures consistent power delivery, which is crucial for maintaining optimal mining performance and extending the lifespan of your hardware.
3. Robust Engineering
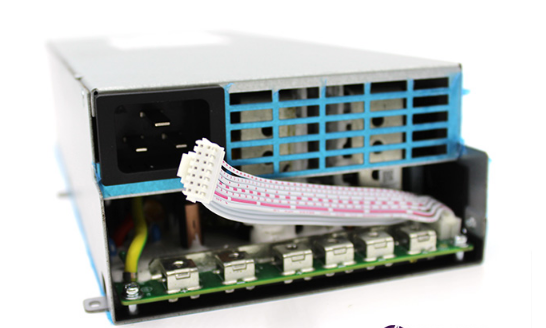
Weighing just 4kg, the P221C is compact yet durable, featuring industrial-grade components and advanced protection mechanisms. It’s designed to withstand the rigors of continuous operation in demanding mining environments.
4. Professional Support
The P221C comes with a comprehensive 160-day manufacturer warranty and dedicated after-sales service support. This ensures minimal downtime and peace of mind for mining operators.
Step-by-Step Guide to Replacing the P221C PSU in M31 or M32 Series Miners
Replacing the PSU in your Whatsminer M31 or M32 series is a straightforward process if you follow these steps carefully. Always ensure that your miner is powered off and disconnected from the electrical outlet before starting.

Tools and Materials Needed:
- Screwdriver set
- Anti-static wrist strap (optional but recommended)
- Replacement Whatsminer P221C PSU
Step 1: Prepare Your Workspace
Choose a clean, well-lit area to perform the replacement. Ensure you have enough space to lay out the miner and tools. Wearing an anti-static wrist strap can help prevent damage to sensitive components.
Step 2: Power Down the Miner
Shut down the miner properly using the control interface or power switch. Unplug the power cord from the electrical outlet and wait for at least 5 minutes to ensure all components are completely powered down.
Step 3: Open the Miner Chassis
Locate the screws securing the miner’s chassis and use a screwdriver to remove them. Carefully open the chassis to access the internal components. Be gentle to avoid damaging any cables or connectors.

Step 4: Disconnect the Old PSU
Identify the existing PSU inside the miner. Disconnect all power cables connected to the miner’s motherboard and hashboards. Take note of the cable connections to ensure proper reinstallation later. Once all cables are disconnected, remove the screws holding the PSU in place and gently take it out of the chassis.
Step 5: Install the New P221C PSU
Place the new Whatsminer P221C PSU in the same position as the old unit. Secure it with the screws you removed earlier. Reconnect the power cables to the miner’s motherboard and hashboards, ensuring each connection is tight and secure. Double-check your notes from Step 4 to confirm correct placement.
Step 6: Close the Chassis and Power Up
Once the new PSU is installed and all connections are secure, close the miner’s chassis and fasten the screws. Plug the power cord back into the electrical outlet and power on the miner. Monitor the system to ensure it boots up correctly and operates without issues.
Step 7: Test and Monitor
After powering up, check the miner’s control interface to verify that all hashboards are functioning correctly. Monitor the temperature and power consumption to ensure the new PSU is operating efficiently.
Practical Tips for Successful PSU Replacement
- Label Cables: Before disconnecting the old PSU, label each cable with masking tape and a marker. This will make reinstallation easier and reduce the risk of incorrect connections.
- Inspect Components: While the chassis is open, take the opportunity to inspect other components, such as fans and hashboards, for dust or damage. Clean or replace parts as needed.
- Use Quality PSUs: Always opt for high-quality PSUs like the Whatsminer P221C to ensure reliability and longevity.
- Consult Documentation: Refer to the miner’s user manual or manufacturer’s guidelines for specific instructions related to your model.
Conclusion
Replacing the Whatsminer P221C PSU in your M31 or M32 series miners is a manageable task that can significantly enhance your mining operation’s efficiency and reliability. With its universal compatibility, industrial-grade performance, and robust engineering, the P221C is an excellent choice for professional mining setups.
By following the step-by-step guide and practical tips outlined in this article, you can ensure a smooth and successful PSU replacement process. Remember to prioritize safety, double-check connections, and monitor your miner’s performance after installation. With the right tools and knowledge, you’ll be back to mining at full capacity in no time!